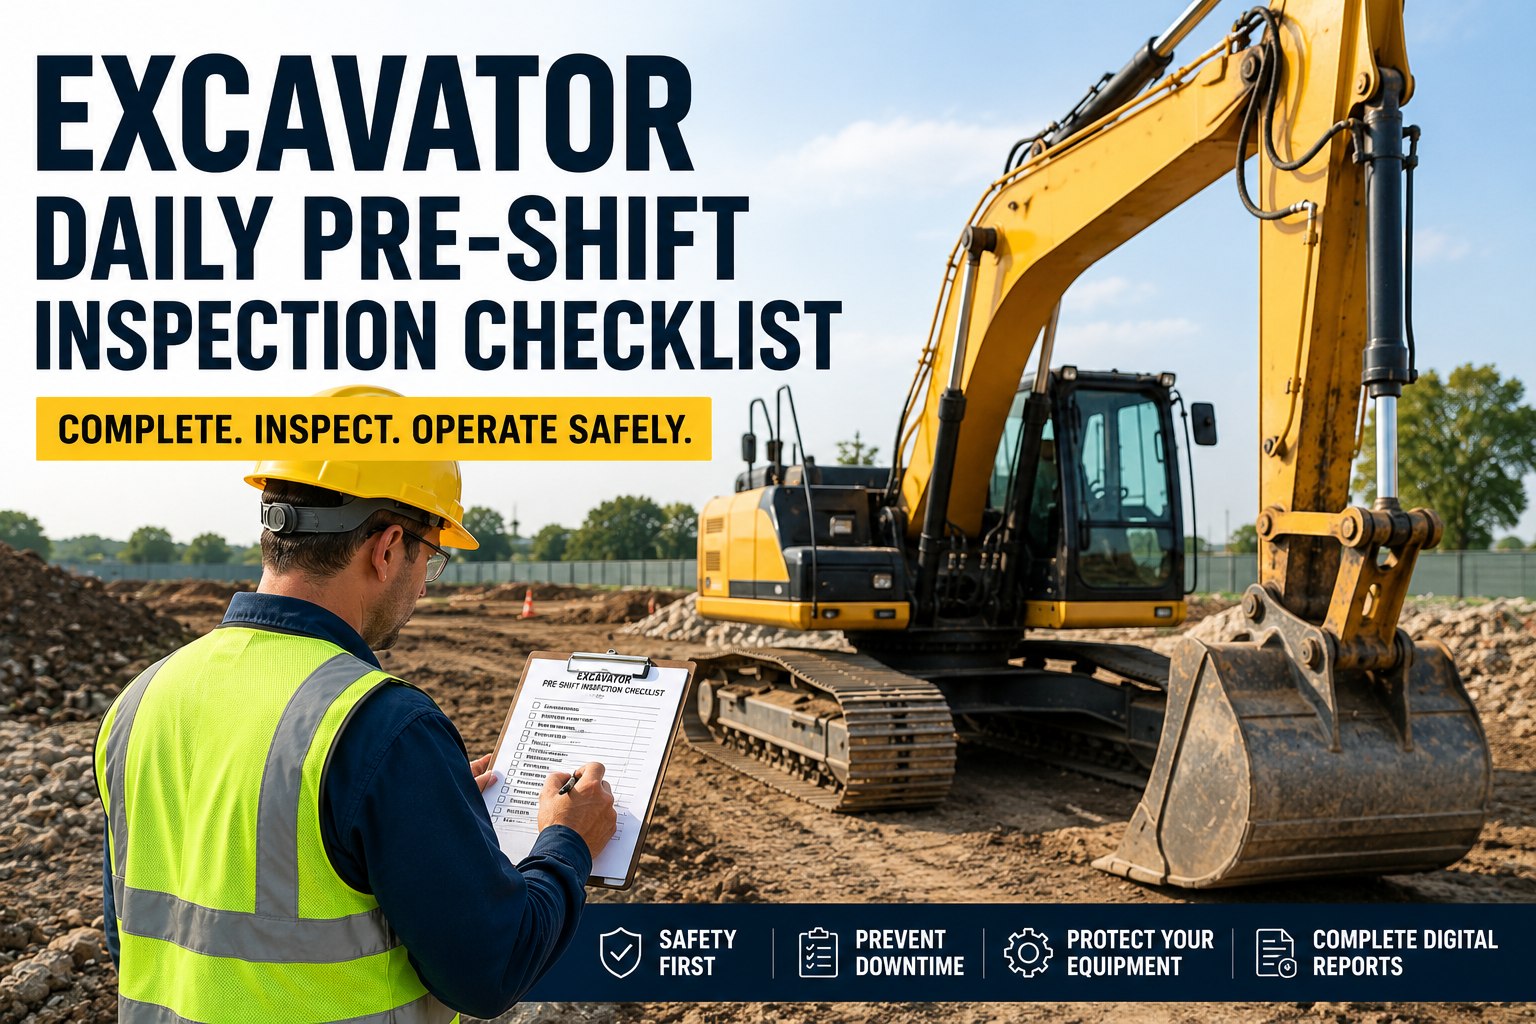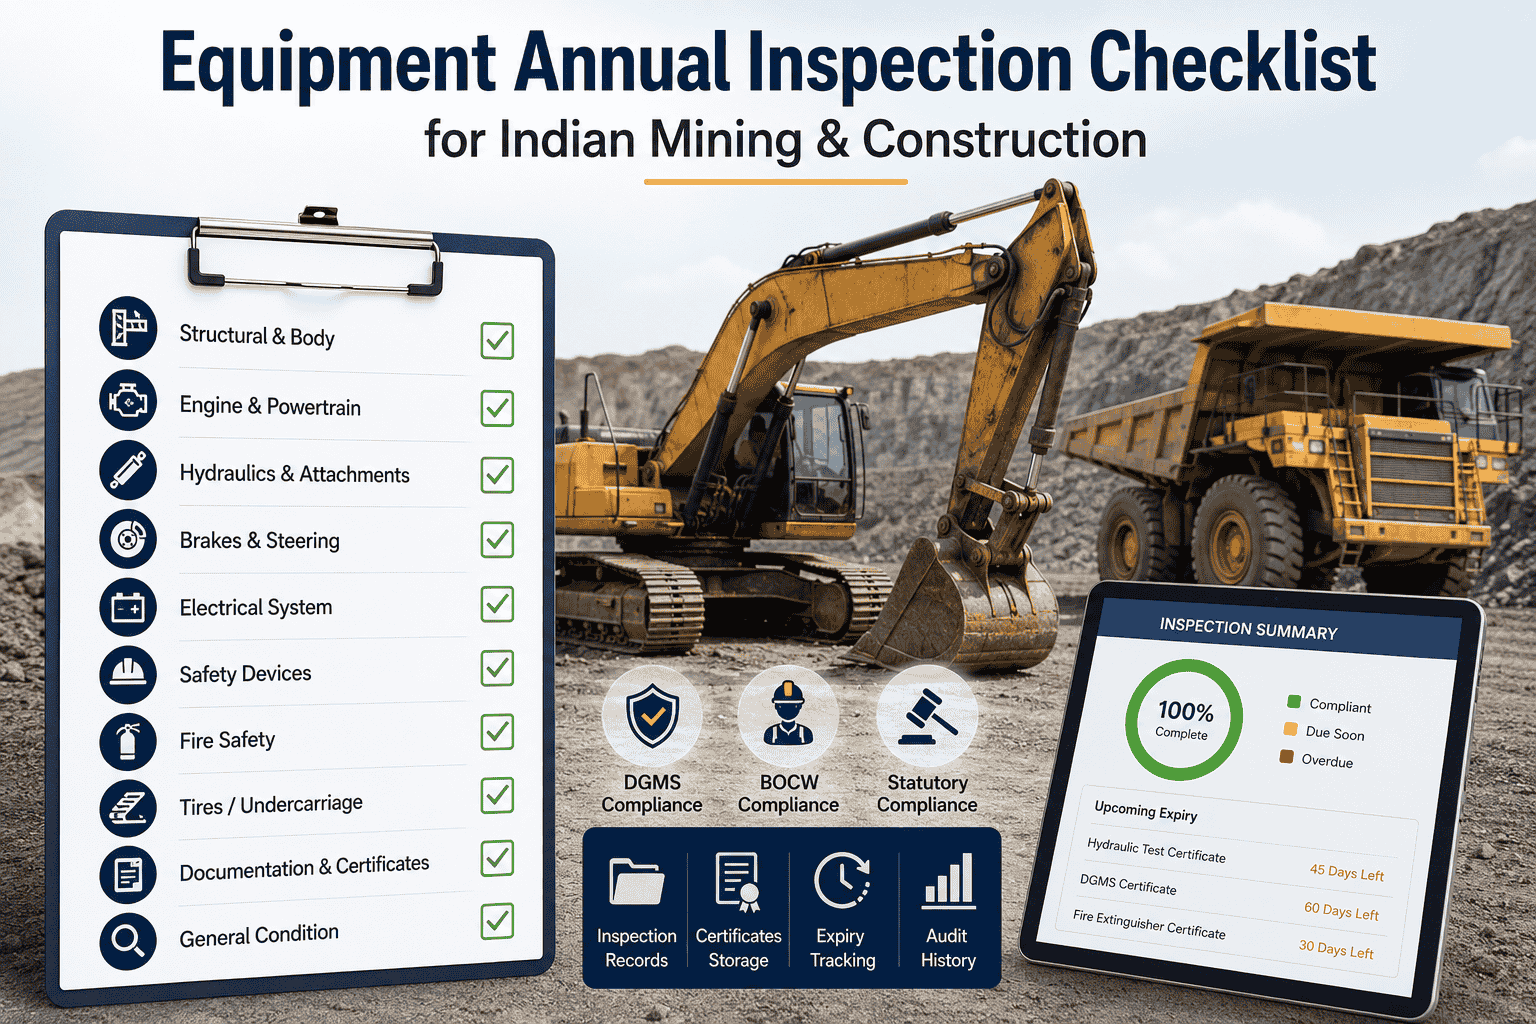
Every mine and construction site in India runs on the same fragile assumption: that the excavator, tipper, or dozer starting up this morning is exactly as safe as it was yesterday. It rarely is. Hydraulic seals weep overnight, brake linings wear a fraction more with every loaded descent, and a cracked weld found on day nine could have been flagged on day one. A pre-shift inspection checklist is the single cheapest control a site has against unplanned downtime, DGMS non-compliance, and the kind of incident that shuts an entire pit down. This page gives supervisors and safety officers a ready-to-use checklist for coal mine and construction heavy equipment, structured the way HVI's inspection software digitises it on the ground.
Pre-Shift Inspection Checklist for Mine & Construction Equipment
One missed hydraulic leak on a loader can cost a shift. One missed brake fault on a tipper can cost a life. This checklist gives operators and supervisors a section-by-section routine — engine, hydraulics, brakes, safety devices — built around Mines Act and Factories Act expectations, ready to run on paper or inside an inspection app.
A Rushed Walkaround Is the Same as Skipping It
Operators averaging under ten minutes on a full pre-shift are almost certainly rushing, and rushed checks miss exactly the defects that turn into shutdowns: a weeping hydraulic hose, a swing brake that no longer holds on grade, a fire extinguisher past its service date. None of these fail loudly. They fail quietly, mid-shift, when the machine is loaded and the site can least afford it.
Compliance Cover
A dated, signed pre-shift record is the first document a DGMS or factories inspector asks for after any incident. No record is treated the same as no inspection.
Downtime Avoided
A hydraulic hose caught weeping at 6 AM is a five-minute swap. The same hose caught mid-shift, loaded, on a haul road, is a towed machine and a lost production day.
Operator Safety
Brakes, steering, and structural checks exist because the alternative — discovering a fault at speed on a loaded descent — is rarely survivable for the operator or the crew nearby.
Eight Zones, Walked in Order, Every Shift
Run this in the same sequence every time — muscle memory catches what a checklist read out of order won't. Each zone below lists the checks that matter most on excavators, tippers, dozers, loaders, and cranes operating on Indian mine and construction sites.
Walk-Around & Structure
- No cracks, bending, or weld failure on chassis, boom, or arm
- ROPS/FOPS structure intact, no visible impact damage
- Bucket teeth, cutting edges, and pins present and secure
- No fresh fluid stains on the ground beneath the machine
Tyres, Tracks & Undercarriage
- Tyre pressure, tread depth, and sidewall condition on wheeled machines
- Track tension within OEM spec; no cracked or missing pads
- All track shoe bolts present and torqued
- Undercarriage free of packed mud that hides wear
Brakes & Steering
- Service brake holds machine on maximum site gradient
- Parking/swing brake holds position without drift
- Steering response even on both sides, no delay or play
- No unusual noise or resistance during test movement
Engine & Fluids
- Engine oil and coolant within marked range, no contamination
- No oil or fuel leakage under the machine or at fittings
- Air filter indicator in normal range
- Gauges monitored through warm-up: pressure, temperature, voltage
Hydraulics
- Hydraulic fluid level correct, breather cap clean and unobstructed
- All hoses checked for chafing, bulging, or weeping at fittings
- Cylinders cycled fully, checking for scoring or slow drift
- Auxiliary hydraulic flow tested through every attachment function
Cab & Controls
- Seat belt present, undamaged, and retracts correctly
- Mirrors, cameras, and glass clean and unobstructed
- All controls move freely and return to neutral
- Pilot shut-off lever functions and locks correctly
Lights & Warning Devices
- Headlights, work lights, and beacon all functional
- Reverse alarm audible from a safe distance
- Horn tested and audible above ambient site noise
- Instrument panel warning lights checked at start-up
Fire Suppression & Safety Kit
- Fire extinguisher charged, in date, and secured in bracket
- First-aid kit stocked and accessible
- Wheel chocks and warning triangle present on the machine
- Emergency stop tested and clearly labelled
What Happens When an Item Fails
Not every failed item needs the machine parked. The table below shows how findings across the eight zones should typically be classified and escalated on a mine or construction site.
| Finding | Example | Action | Who's Notified |
|---|---|---|---|
| Minor / Cosmetic | Worn decal, minor cab dust, faded marking | Log and monitor, no work stoppage | Maintenance log only |
| Routine Defect | Low washer fluid, minor mirror misalignment | Repair before next shift | Site maintenance team |
| Critical Defect | Brake not holding on grade, hydraulic hose weeping under pressure | Tag out immediately, remove from service | Site engineer, safety officer |
| Structural Defect | Cracked weld on boom or ROPS damage | Full stop, technician inspection required | Site engineer, equipment owner |
How a Digitised Pre-Shift Check Flows
The checklist above works identically on a clipboard or on a phone. What changes with an app is what happens the moment an item is marked failed.
Operator Runs the Checklist
Same eight zones, pass/fail per item, photo attached for any failure.
Critical Item Fails
App flags the defect as critical and blocks sign-off until acknowledged.
Work Order Auto-Generated
Corrective work order is created against that asset with photo evidence attached.
Site Engineer Notified
Real-time alert reaches the engineer before the operator leaves the cab.
Loop Closed & Logged
Parts, labour, and cost are tracked per asset, and the record is stored for audit.
Where the Paper Version Falls Short
A paper checklist gets the inspection done, but it puts the burden of chasing, filing, and proving compliance entirely on your supervisors. Here's what changes once it's digitised.
Paper Checklist
- Sits in a site office file, easy to lose or backdate
- Critical defects depend on someone physically reporting them
- No photo evidence tied to the specific fault
- Compiling records for an audit takes hours of manual searching
Digitised in HVI
- Timestamped, geo-tagged, and operator-signed automatically
- Critical defects notify the site engineer instantly
- Every failed item carries photo evidence by default
- Audit-ready records pulled in seconds, not hours
Run This Checklist as a Five-Minute Digital Form Instead
HVI turns this exact eight-zone checklist into a guided mobile form for excavators, tippers, cranes, dozers, and DG sets — with photo prompts, escalation rules, and a permanent audit trail built in.
Pre-Shift Inspection: Frequently Asked
How long should a pre-shift inspection actually take?
Most equipment can be fully inspected in fifteen to twenty minutes when the operator walks all eight zones without rushing. Larger machines like ultra-class haul trucks or big excavators can take closer to thirty minutes given the number of hydraulic and structural points to check. If your team is consistently finishing in under ten minutes, that is usually a sign the checklist is being rushed rather than completed, and it's worth reviewing with tools like the HVI inspection app.
Who is responsible for signing off a pre-shift checklist?
The equipment operator conducting the walkaround is responsible for completing and signing the checklist before the shift begins. On most Indian mine and construction sites, the site supervisor or safety officer is then responsible for reviewing flagged defects and authorising the machine to continue or be pulled from service.
What happens if a critical defect is found mid-checklist?
Any item marked critical, such as a brake that doesn't hold on grade or a hydraulic hose weeping under pressure, should stop the process immediately. The machine is tagged out and removed from service until a qualified technician clears it, rather than being allowed to run for the shift with the defect noted for later.
Do underground mining machines need a different checklist?
Underground equipment shares the same eight zones but with higher stakes on brakes, hydraulics, and lighting, since limited visibility and confined haul roads leave far less room to react to a mid-shift failure. Operators typically also need a handheld light to check undercarriage and hose condition, since machine-mounted lights don't illuminate the underside.
Can this checklist be used across different equipment types?
The eight zones apply broadly across excavators, tippers, loaders, dozers, cranes, and DG sets, though the specific items within each zone shift by machine type, such as swing brake checks for excavators versus coupling checks for tippers. Teams running a mixed fleet generally benefit from a tailored checklist per equipment type rather than one generic form.
Stop Losing Shift Time to Checklists That Live in a Drawer
Get the full HVI checklist library for excavators, dump trucks, cranes, tippers, DG sets, and plant machinery, with automatic work orders, instant alerts, and audit-ready records for every asset on site.