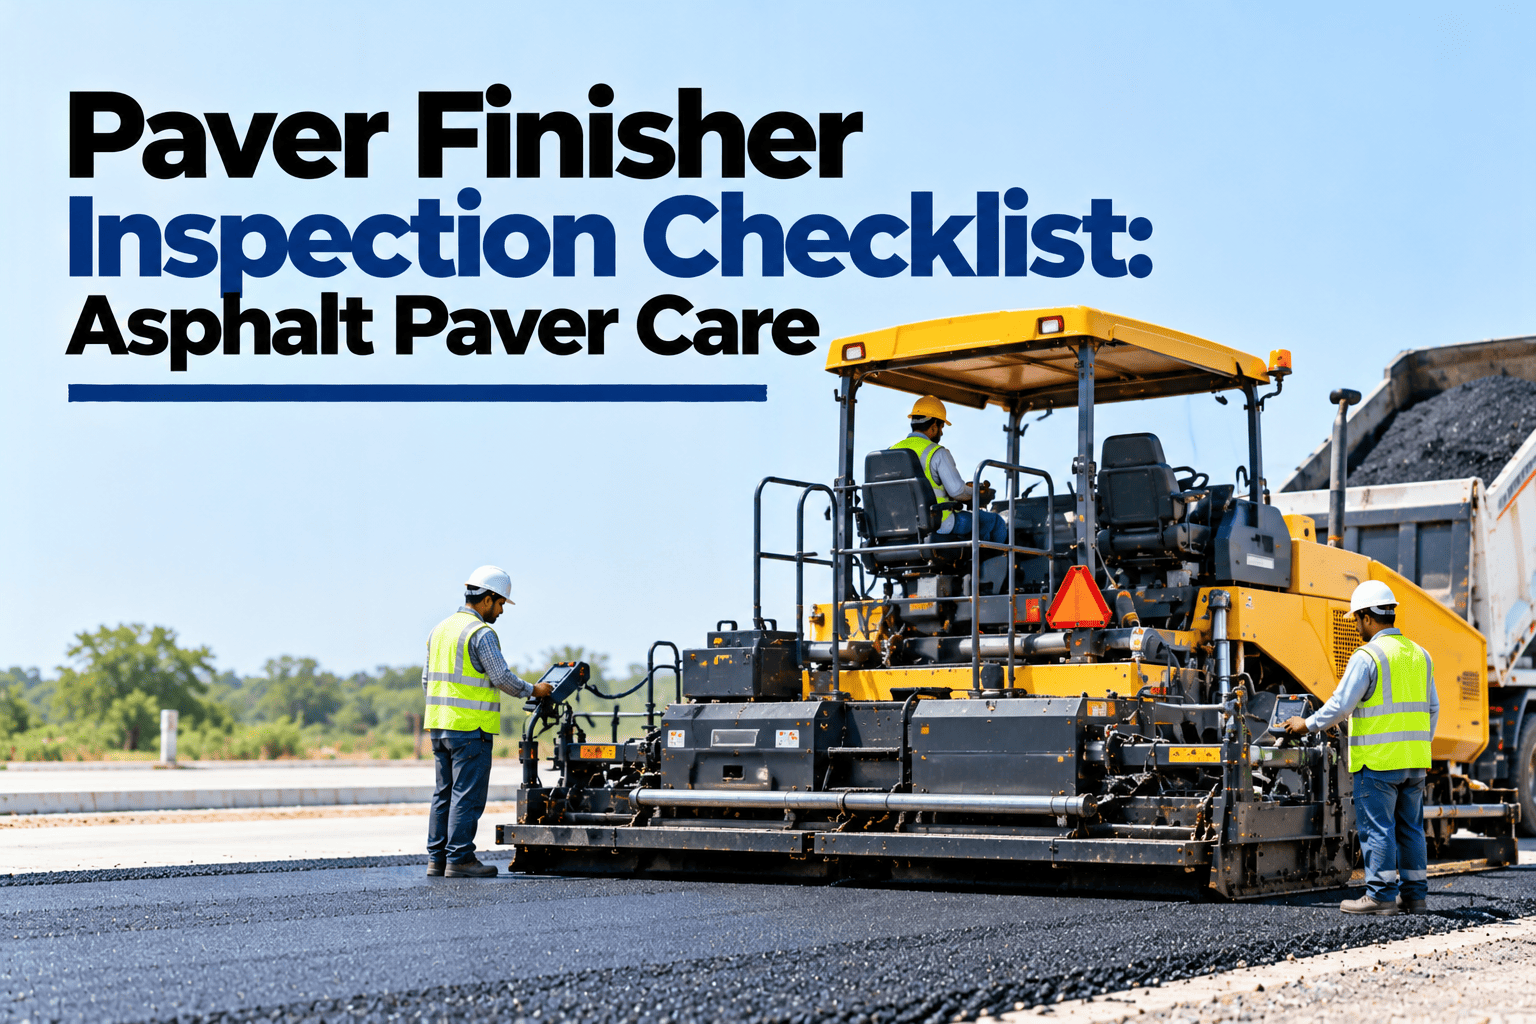
The paver finisher lays the surface that drivers will judge a road by. If it stops mid-run, the mat cools, leaving a cold joint that may fail quality tests. If the screed heating, augers or sensors are not working properly, the surface comes out rippled, torn or uneven, and the layer may need to be milled off and relaid. Much of this can be avoided with a careful start-up, checks during paving and thorough cleaning at the end of each shift. This checklist covers all three, and shows how road crews run paver checks in HVI.
Paver Finisher Inspection Checklist: Asphalt Paver Care
Screed and heating, augers, conveyors and hopper, tracks or tyres, levelling sensors and engine, with start-up, paving and end-of-shift tasks.
Pre-Start Checklist
The operator and screedman should complete these before the first truck arrives. Do not start paving if a safety item fails.
Component Inspection Guide
Inspect these regularly alongside the daily check. Follow the paver maker's manual for wear limits and service intervals.
| Component | What to inspect | Warning signs |
|---|---|---|
| Hopper and wings | Wing hinges, cylinders and push rollers | Leaks, bent rollers, material build-up |
| Slat conveyors | Chains, slats, sprockets and tension | Worn or missing slats, slack chain |
| Augers | Flights, bearings and extensions | Worn flights, noise, uneven spreading |
| Screed plates | Plate wear and flatness | Grooves, warping, uneven mat texture |
| Tampers and vibrators | Tamper bars, drives and settings | Uneven compaction, unusual noise |
| Screed heating | Elements or burners on every section | Cold sections, slow heating |
| Levelling sensors | Sensors, cables and grade reference | Erratic readings, waves in the mat |
Surface Defects and Their Machine Causes
When the mat looks wrong, the paver is often part of the reason. Check these before blaming the mix.
Waves or ripples
Faulty sensors, stop-start paving or worn screed parts.
Check: sensors and steady paving speedTearing or streaks
Cold screed sections or worn screed plates.
Check: screed heating and plate wearSegregation
Running the hopper empty or poor auger flow.
Check: hopper level and auger settingsUneven thickness
Incorrect screed settings or uneven material head.
Check: screed setup and auger speedEvery Paver Checked Before the First Truck
HVI gives paver crews this checklist on their phones, records defects with photos and alerts the mechanic straight away, so paving starts on time and finishes smoothly.
End-of-Shift Cleaning
Asphalt left on the machine hardens overnight and causes the next day's problems.
Empty the hopper
Run out remaining material.
Clean conveyors
Clear slats and tunnel of build-up.
Clean augers
Remove material from flights and housing.
Clean the screed
Use only approved release agents.
Working Safely Around the Paver
Hot material, heated screeds and trucks reversing to the hopper make paving crews vulnerable.
Never stand between a reversing truck and the paver hopper. Wear heat-resistant gloves and long sleeves near the screed and hot mix, keep clear of augers and conveyors while they run, and isolate the machine before any cleaning or adjustment inside the hopper or tunnel.
Paver Fleet Status in HVI
A sample morning view across a contractor's pavers.
| Paver | Project | Pre-start check | Open defect | Status |
|---|---|---|---|---|
| PV-01 | Highway package 2 | Passed at 5:45 am | None | Ready to pave |
| PV-02 | City ring road | Passed at 6:00 am | Two worn conveyor slats | Replace this week |
| PV-04 | State highway | Failed at 6:10 am | Right screed section not heating | Repair before paving |
Paver Finisher Inspection FAQs
What should be checked on a paver finisher before paving?
Engine and hydraulic fluids, the hopper and wings, slat conveyors, augers and guards, screed heating on every section, levelling sensors, tracks or tyres, and emergency stops, horn and beacon.
Why does the asphalt mat tear behind the paver?
Tearing often comes from a screed section that is not heated enough, worn screed plates or mix that is too cold. Check screed heating first, then plate wear and mix temperature.
What causes waves in a new asphalt surface?
Common machine causes are faulty levelling sensors, stop-start paving and worn screed components. Keeping a steady speed and a constant head of material in front of the screed helps.
How should a paver be cleaned after work?
Empty the hopper, clean conveyors, augers and screed while material is still warm, and use only approved release agents. Teams that log cleaning in HVI avoid next-day start-up problems.
Can paver checks be done on a phone?
Yes. Crews complete the pre-start checklist with photos, and supervisors see which pavers are ready before trucks arrive. Book a demo to see paver checklists in HVI.
Smooth Mats, On-Time Paving
Check every paver before the first truck, watch the screed and sensors while paving, clean thoroughly and track every defect in HVI. Better surfaces and fewer paving delays.